Kaluma는 웹 ide를 통해서 어디서든 개발이 가능하다
* 현재 윈도우10 브라우저에서 web serial 동작문제가 있어 Kaluma web ide를 쓸수 없다.
해결책
- Kaluma agent를 설치하면 web ide를 문제없이 사용할수 있다
Kaluma Agent
Kaluma Agent is a desktop application (background service) allows to communicate between Kaluma IDE (Web browser) and connected boards via serial communication. Before you install You don't need to install if you are using browsers supporting Web Serial (e
kaluma.io
접속후

설치한다
자동으로 백그라운드에서 실행되게 되니까 신경안써도 된다
IDE
kaluma.io
접속후

라즈베리 파이 피코와 시리얼 연결을 위해 저 메뉴를 클릭한다
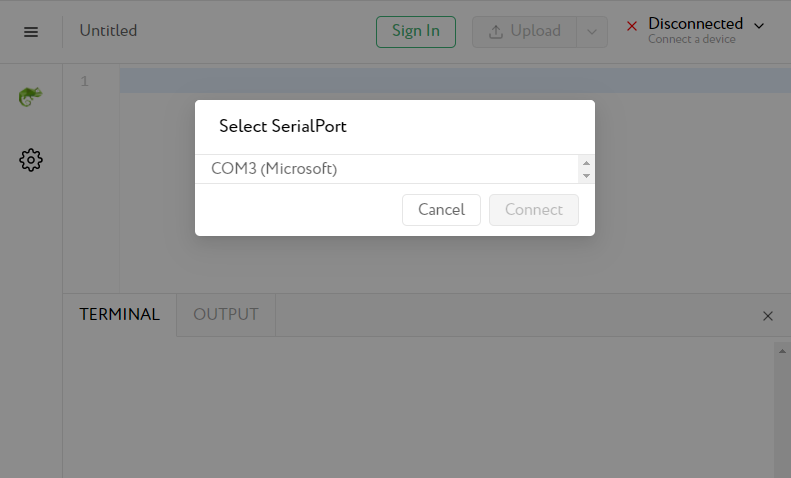

시리얼 포트를 선택하고 Connect
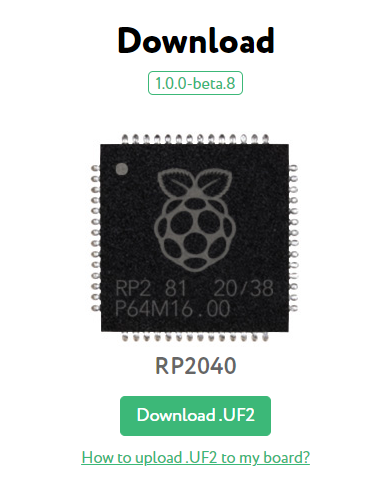
https://docs.kaluma.io/getting_started
Getting Started - Kaluma
Congratulation, now you have completed basic steps to use Kaluma. Please note that the code in IDE is not be saved. If you want to save the code, you can save the code as a project by selecting Save menu or press Ctrl+S shortcut.
docs.kaluma.io
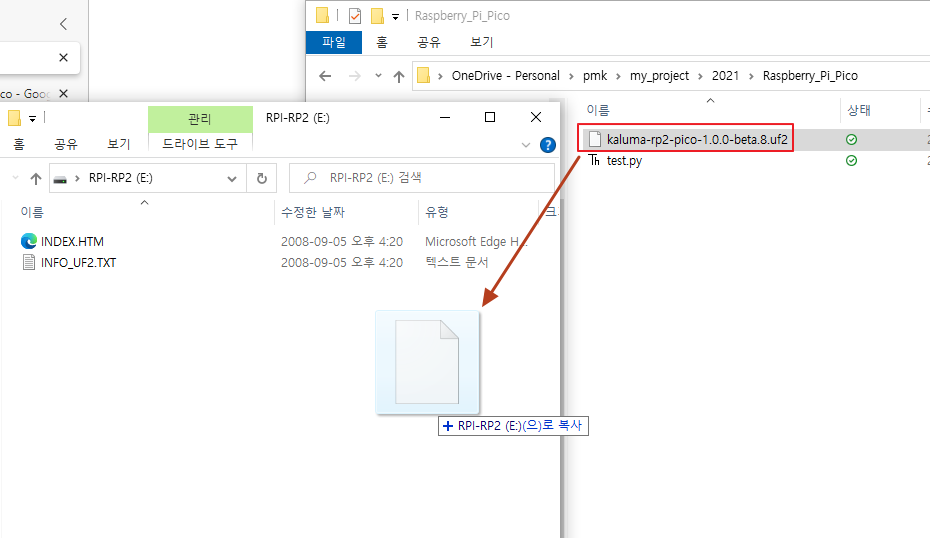
중간에 있는 LED test code를 복사 붙여넣기 한다음에 업로드

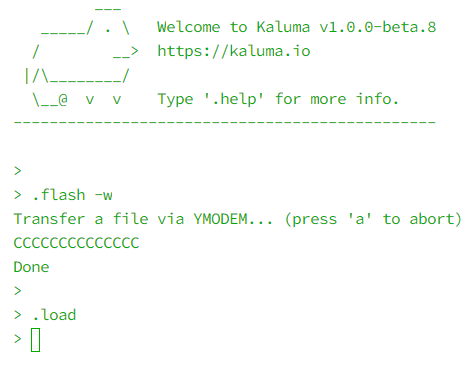
터미널에서 메세지들이 출력후 보드에 있는 LED가 깜빡이게 된다
Good
'Study(pending) > Raspberry Pi Pico with Kaluma' 카테고리의 다른 글
| [Kaluma] Raspberry Pi Pico 연결하기 (0) | 2021.11.24 |
|---|